- Published on
Github에 Jekyll로 블로그 만들기
- Authors

- Name
- 성기동
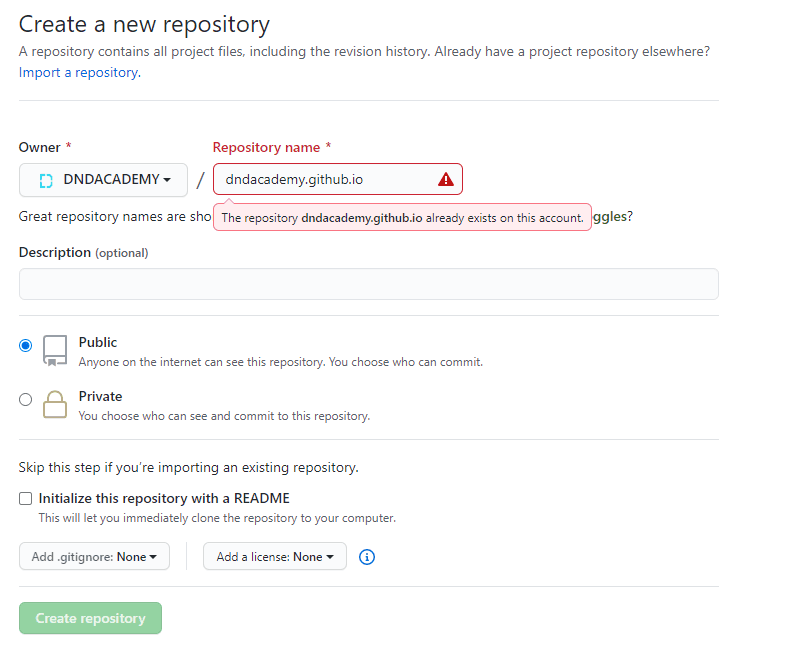
GitHub에서 새 저장소(repository)를 만듭니다. 이 때 저장소의 이름을 자신의 username 뒤에 .github.io가 붙은 이름으로 짓습니다. 이렇게 해야 yourname.github.io의 도메인으로 접속할 수 있는 블로그가 됩니다.
프로젝트 별 페이지 만들기
프로젝트 별로 페이지를 만들 수도 있습니다. 이 때는 프로젝트 이름이 yourname.github.io가 아니어도 상관 없으며 이미 존재하는 프로젝트에 페이지를 만들 수도 있습니다. 다만 이렇게 만든 페이지는 yourname.github.io/projectname의 url로 접속하게 됩니다.
Jekyll “Memoirs” 테마 적용하는 방법
jekyll-theme-memoirs.git을 clone 받아서 기존에 만들어 두었던 저장소(yourname.github.io)에 복사합니다.
git clone https://github.com/wowthemesnet/jekyll-theme-memoirs.git
gem install bundler
Then:
bundle install
_config.yml 파일을 통해서 기본적인 설정들을 수정할 수 있습니다. site의 경로가 root일 경우는 baseurl: '' 로 설정합니다. 또한, Google Analytics code, disqus username, authors, Mailchimp list 등에 대해서 설정 할 수 있습니다.
수정 후, 터미널에서 아래의 코드를 입력합니다.
bundle exec jekyll serve --watch
별도 수정없이 바로 시작을 하였다면 http://127.0.0.1:4000/jekyll-theme-memoirs 주소로 들어가서 프로젝트가 정상적으로 실행된것을 확인할 수 있습니다.
YAML front matter options:
- post image - image: assets/images/mypic.jpg
- external post image - image: "https://externalwebsite.com/image4.jpg"
- disable page comments - comments:false
- meta description (optional) - description: "this is my meta description"
YAML Post Example:
---
layout: post
title:  "We all wait for summer"
author: john
categories: [ Lifestyle, Travel ]
tags: [ France ]
image: assets/images/5.jpg
description: "Something about this post here"
---
YAML Page Example
---
layout: page
title: About Memoirs
comments: false
---
Rating
---
layout: post
title:  "We all wait for summer"
author: john
categories: [ Jekyll, tutorial ]
image: assets/images/5.jpg
description: "Something about this post here"
rating: 4.5
---
이제 깃허브에 나만의 주소를 가진 블로그를 만들고 마크다운으로 블로그 포스트를 작성할 수 있습니다!
모든 문서를 텍스트에디터에서 작성할 수 있는 마크다운이 익숙하지 않은 분들은 존 그루버 마크다운 페이지 번역을 보면 쉽게 따라 할 수 있습니다.